RSS Feed with Next.js App router
Introduction
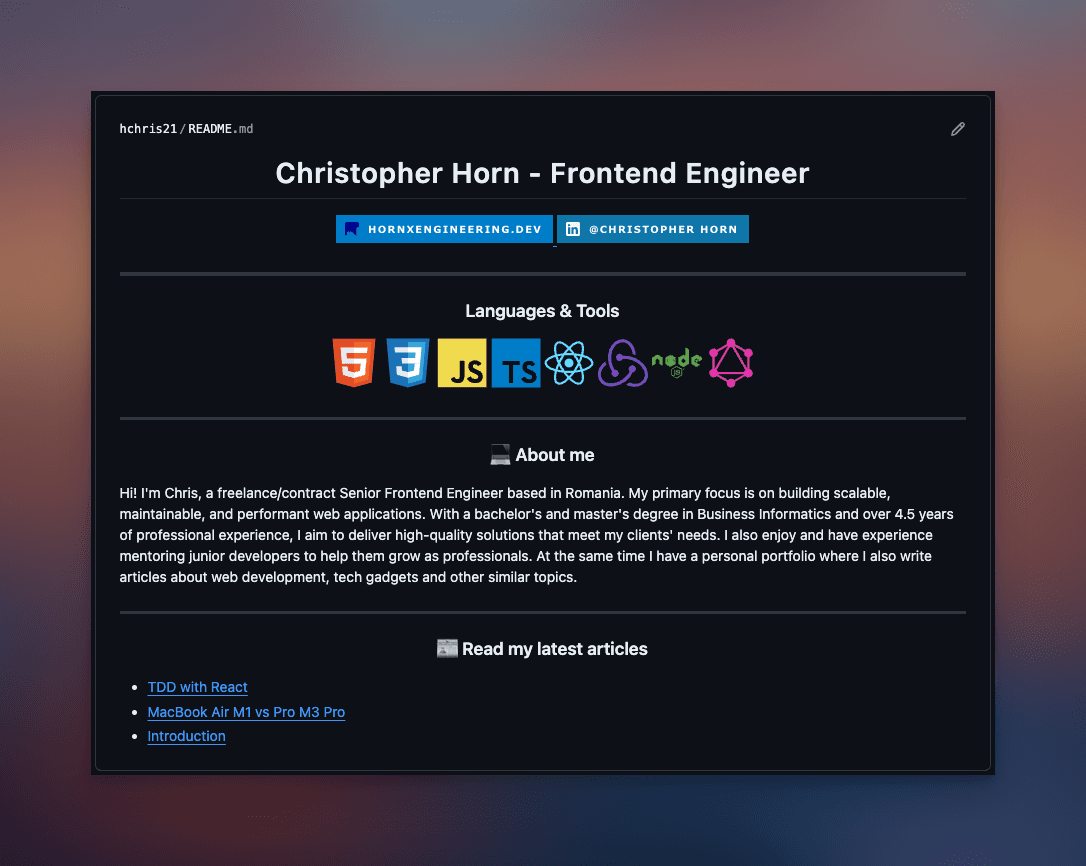
In this article I am going to show you how to create an RSS Feed using Next.js App Router and the rss npm package. This is a great way to create a feed for your blog or website, I am currently using it to fetch my blog posts and display them on my GitHub profile. You can check it out here, or take a sneak peek at the example below:

Install the rss package
First, you need to install the rss package. You can do this by running the following command:
Using npm:
npm install rss
npm install -D @types/rss
Using yarn:
yarn add rss
yarn add -D @types/rss
Using bun:
bun add rss
bun add -D @types/rss
Create the RSS Feed
Next, you need to create the RSS Feed. One way to do this is to create a new directory inside the app directory called feed.xml and create a route.ts route handler inside it, then add the following code:
import RSS from 'rss';
import { getBlogPosts } from '@/utils/getBlogPosts';

export async function GET() {
  const blogPosts = await getBlogPosts(); // Fetch your blog posts or any other data you want to feed

  const siteUrl = process.env.NODE_ENV === 'production' ? 'https://your-site.com' : 'http://localhost:3000';

  const feedOptions = {
    title: 'Your RSS Feed Title',
    description: 'Your RSS Feed Description',
    site_url: siteUrl,
    feed_url: `${siteUrl}/feed.xml`,
    image_url: `${siteUrl}/bg.jpg`,
    pubDate: new Date().toUTCString(),
    copyright: `All rights reserved - ${new Date().getFullYear()}`,
  };

  const feed = new RSS(feedOptions);

  blogPosts.map((post) => {
    feed.item({
      title: post.title,
      description: post.description,
      url: `${siteUrl}/blog/${post.slug}`,
      guid: post.id,
      date: post.publishedAt,
    });
  });

  return new Response(feed.xml({ indent: true }), {
    headers: {
      'Content-Type': 'application/atom+xml; charset=utf-8',
    },
  });
}
To test the RSS Feed, you can:
- Run your Next.js app:
npm run dev
-
Open your browser and navigate to
http://localhost:3000/feed.xml. -
You should see the RSS Feed with your blog post, something like this:
<?xml version="1.0" encoding="UTF-8"?>
<rss version="2.0">
  <channel>
    <title>Your RSS Feed Title</title>
    <description>Your RSS Feed Description</description>
    <link>https://your-site.com</link>
    <lastBuildDate>Wed, 07 Jun 2024 00:00:00 GMT</lastBuildDate>
    <image>
      <url>https://your-site.com/bg.jpg</url>
      <title>Your RSS Feed Title</title>
      <link>https://your-site.com</link>
    </image>
    <item>
      <title>Post Title</title>
      <description>Post Description</description>
      <link>https://your-site.com/blog/post-slug</link>
      <guid>1</guid>
      <pubDate>Wed, 07 Jun 2024 00:00:00 GMT</pubDate>
    </item>
  </channel>
</rss>
That's it! You have successfully created an RSS Feed using Next.js App Router and the rss npm package. You can now use this feed to display your blog posts on your website or blog.
Github workflow to update your GitHub profile with your blog posts
You can create a GitHub workflow to fetch your blog posts using the RSS Feed and display them on your GitHub profile. The workflow will use gautamkrishnar/blog-post-workflow action, you can check the full documentation with all the possbile options and requirements here.
Here is an example of the workflow file:
name: Latest blog post workflow
on:
  schedule: # Run workflow automatically
    - cron: '15 4 1 * *' # Runs at 04:15 UTC on the 1st of every month, change this based on your needs
  workflow_dispatch: # Run workflow manually (without waiting for the cron to be called), through the GitHub Actions Workflow page directly
permissions:
  contents: write # To write the generated contents to the readme

jobs:
  update-readme-with-blog:
    name: Update this repo's README with latest blog posts
    runs-on: ubuntu-latest
    steps:
      - name: Checkout
        uses: actions/checkout@v4
      - name: Pull in blog posts.
        uses: gautamkrishnar/blog-post-workflow@v1
        with:
          feed_list: "https://your-site.com/feed.xml"
From now on your GitHub profile will be automatically updated with your latest blog posts.
Outro
I hope you found this short tutorial helpful. If you have any questions or feedback, feel free to reach out to me on any of my contact method that you can find on my website's home page. I am always happy to help.